This pattern accompanies my earlier post: Variations on a Bag. I will cover all three variations shown in that post in this pattern. My pattern has been adapted from Market Bag, a pattern I found on Ravelry.com.
Weight: Thread, Size 5
Quantity: Produce bags are roughly 30 g (~120 m), laundry bag is roughly 60 g (~240 m)
Hook Size: 2.5 mm
Gauge: not important for this pattern
Main Bag
Round 1: Create magic ring (tutorial here) or chain 6 and close ring with a slip stitch
Round 2: Work 20 single crochets in ring and join with a slip stitch
In my post, I showed two different sized meshes for the bags, if you are making a bag with the bigger mesh, replace n with 8. if you are making a bag the smaller mesh, replace n with 4.
Round 3: *Chain n, single crochet in the next single crochet* 19 times. You should have 19 loops around the ring and one single crochet left. To close the ring make a closure loop.
To make a closure loop, you will chain half the size of a normal loop (if n = 8: chain 4, if n = 4: chain 2), then make a (if n = 8: double treble crochet, if n = 4: double crochet) in the final single crochet. You should have a loop where your thread is starting from the middle.
If you are making a produce bag with the large mesh, skip to Round 5, otherwise:
Round 4: *Chain n, single crochet in next loop, chain n, single crochet in same loop* 19 times. Chain n, single crochet in last loop, close round with a closure loop. You should have 40 loops in your bag now.
Round 5: *Chain n, single crochet in next loop* in all loops, close ring with a closure loop
Repeat Round 5 until the bag is the length you want. If you want to add different colors, I would recommend changing colors at the end of a round.
The bags I made are sized as follows:
- Produce bag, large mesh: 20 rounds
- Produce bag, small mesh: 35 rounds
- Laundry bag: 45 rounds
Edge
Once your bag is the length you are happy with, it’s time to start the upper edge. If you are making a bag with large mesh, replace m with 4. If you are making a bag with small mesh, replace m with 2.
Round 1: *Chain m, single crochet in next loop* in all loops except for the last one, chain m and join ring with a slip stitch.
Round 2: Chain 1, single crochet m in each loop and in the single crochets between the loops. Join with a slip stitch.
Round 3: Chain 1, single crochet in each single crochet. Join with a slip stitch.
Handles
There are 3 different types of handles that will work for any of the bag types.
Simple Handle

This one is the easiest handle to make but can dig into your hands a bit if the bag gets too heavy.
Before you start, mark where you want the handles to be. It helps if they aren’t lined up exactly with where your rounds begin. I usually divide the bag mouth into quarters to place my markers.
Round 1: Chain 1, single crochet in each single crochet all the way to the 2nd marker, craft handle, single crochet in each single crochet to the 4th marker, craft handle, single crochet in remaining single crochets, join with a slip stitch and tie off.
To craft the handle, chain about 60 (until handle is the length that you want), turn, single crochet into the previous marker, make sure not to twist the chain! Single crochet in the next single crochet, you should be going towards the start of the round. *Turn, single crochet in each stitch for the next 60 (or however many you chained) stitches, single crochet in the next 2 single crochets back on the bag edge* twice. You should end up with a handle that has three rows of single crochets.
Double Cord Handle

This one is similar to the simple handle, but yields a thicker handle which can be nicer for holding the bag when it gets heavy.
Before you start, mark where you want the handles to be. It helps if they aren’t lined up exactly with where your rounds begin. I usually divide the bag mouth into quarters to place my markers.
Round 1: Chain 1, single crochet in each single crochet all the way to the 2nd marker, craft handle, single crochet in each single crochet to the 4th marker, craft handle, single crochet in remaining single crochets, join with a slip stitch and tie off.
To craft the handle, start by making a Basic Crochet Cord to the length that you would like the handle to be, turn, single crochet into the previous marker, make sure not to twist the cord! Single crochet in the next single crochet, you should be going towards the start of the round. Turn and continue the cord. When crocheting the second cord, do the outside stitch as normal, then rotate to do the inside cord according to the pictures.


Starting with the top left picture:
- Start normally by picking up the two loops on the cord
- Then pick up the two loops on the opposing cord
- Pull thread through both sets of cord loops
- Pull thread through remaining loops on hook
- Turn and do a normal cord stitch
Woven Cord Handle
This is the handle I made for the laundry bag. The cords are woven into the bag to give more support to the bottom of the bag. It also allows me to compress my laundry to fit into my travel pack.
Round 1: Chain 1, single crochet in each single crochet. Join with a slip stitch.
Next make the cord. I used this technique: Basic Crochet Cord. You will need to make the cord long enough to run up the side of the bag 4 times and to have handles.


To insert the cord:
- Start at the bottom of the bag
- Weave the cord up the side
- Rotate the bag by 1/4
- Weave the cord back down the side
- Rotate the bag by 1/4
- Repeat steps 2 – 4
- Finish off by tying a knot
Finishing touches
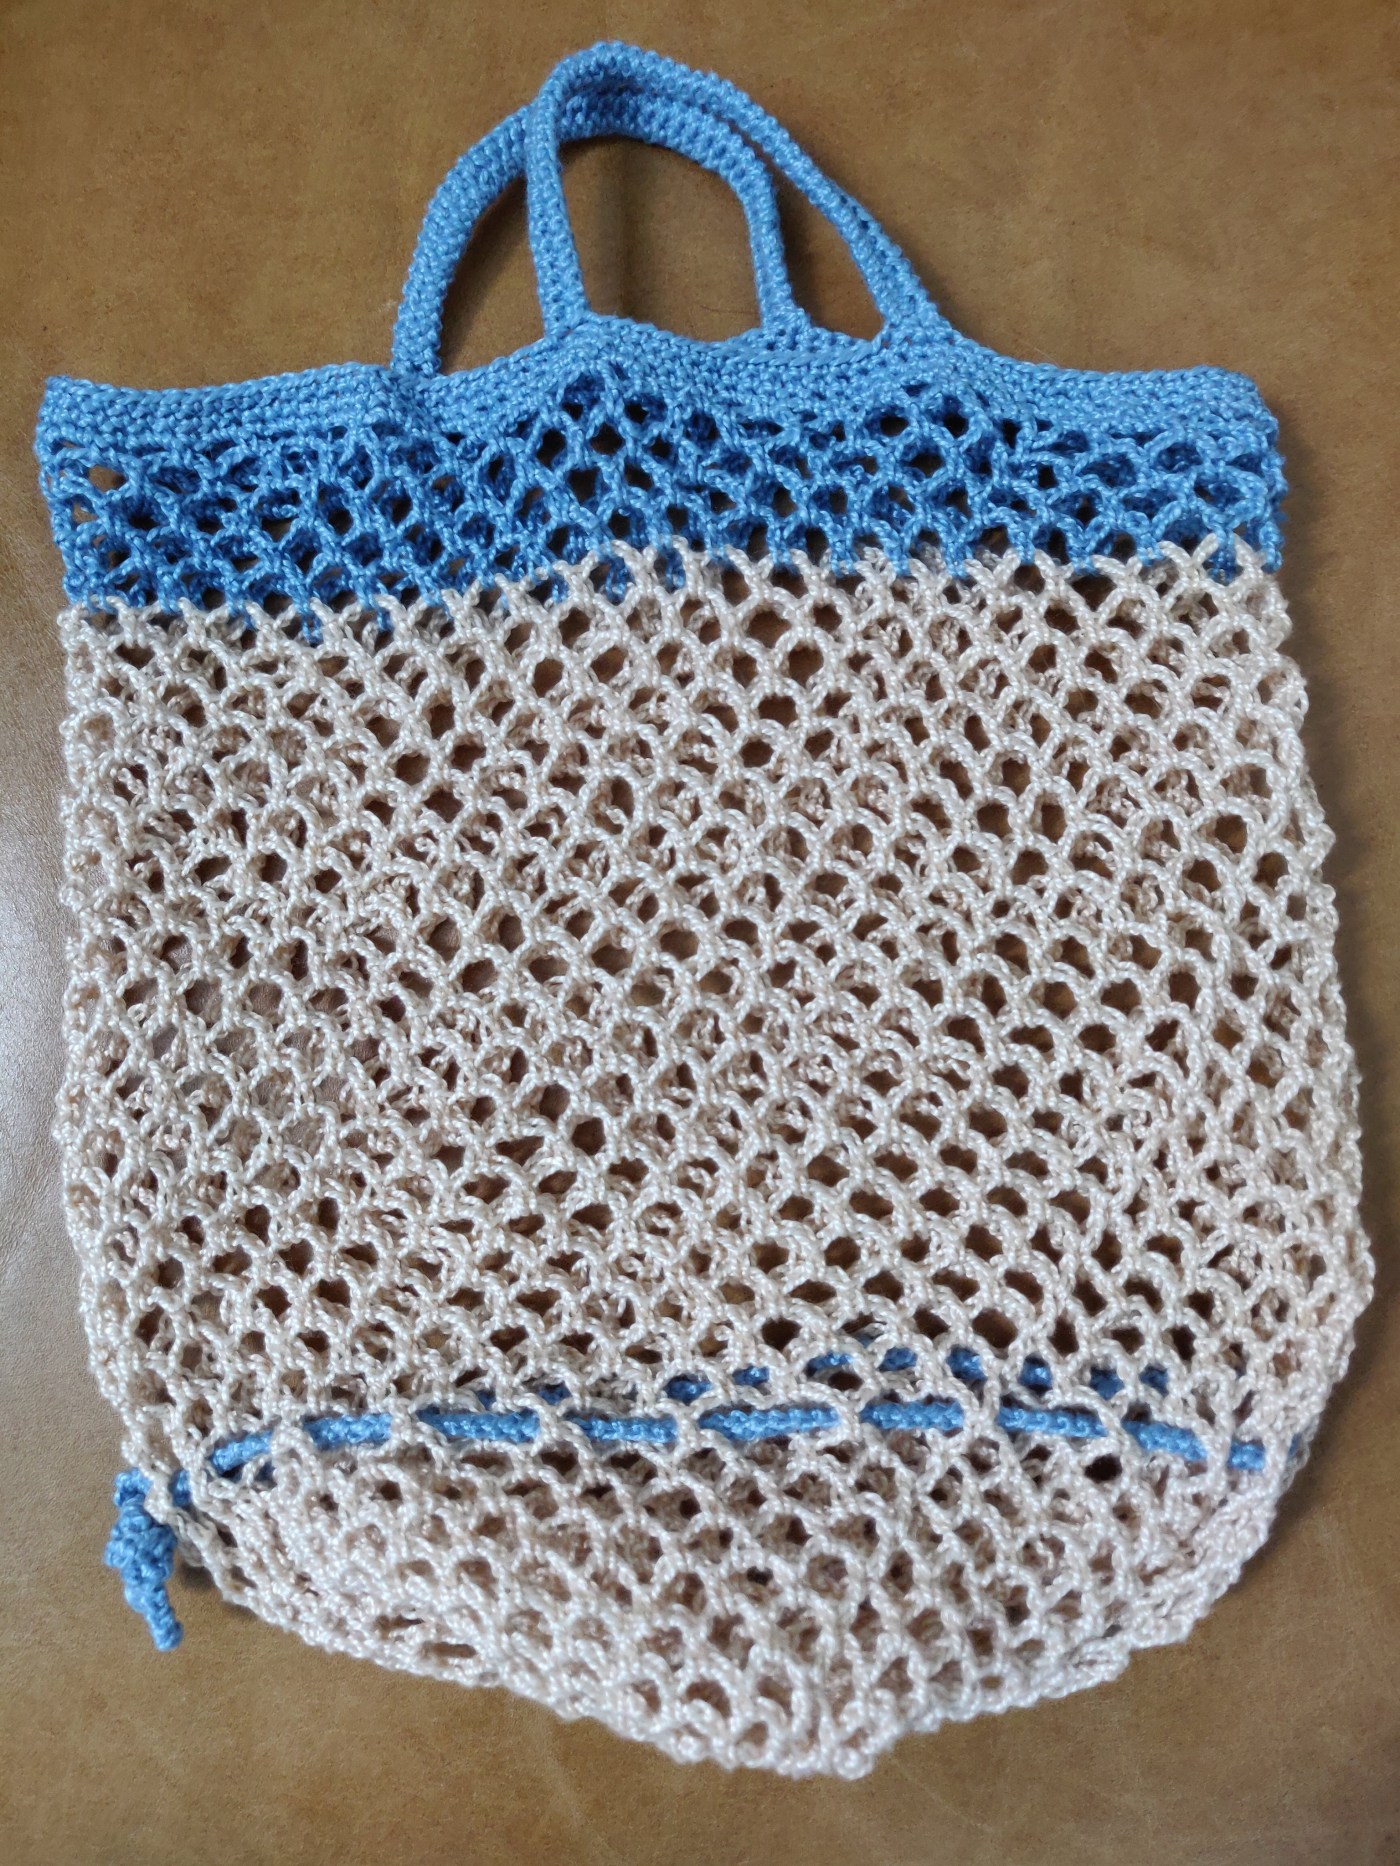
I’ve added a draw string to most of the bags. Some at the top and some at the bottom depending on the function.
Cord at the top to keep stuff in the bag:

Cord at the bottom to make the bag travel size:

In both cases, making the cord is fairly simple. Use the same Basic Crochet Cord from before, make it long enough to fit the circumference of the bag, then weave it into the mesh. For the bottom cord, I usually put the cord a couple inches from the bottom of the bag.

Leave a comment