Winter is here and that means headband season! When I came across a skein of Mille Colori Baby shade 60 I thought that it would be the perfect yarn for some fun and incredibly bright headbands. I played around with a few different styles and techniques and ended make three different headbands.
1. The Artistic One
Needles: 3.5 mm round
Edges: Cable cast on, Cable bind off
Pattern: adapted from Pinterest post
Other supplies: Button

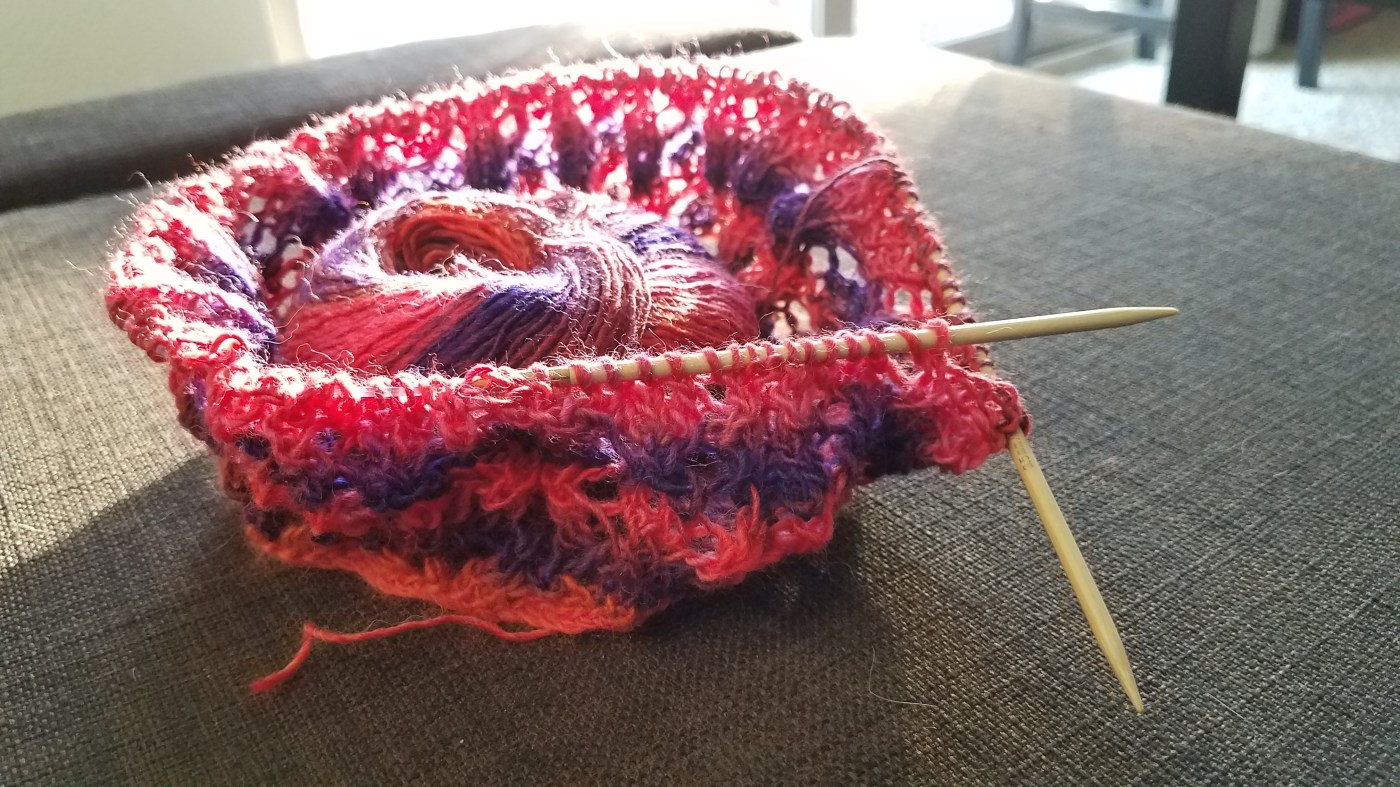
For this headband I chose a cast on technique that makes a nice edge. Usually I use a long tail cast on for that purpose, but I wanted to do something a bit more fancy. The cable cast on seemed like a good choice as a replacement because it has a cool twisty look. Cast on 135 stitches and its time to start the the pattern! I found a pattern I liked while browsing Pinterest. It was in a different language, but the chart used pretty standard symbols so it wasn’t too hard to decode. The color transitions in the yarn made for nice vertical bands. I continued until the headband was a couple inches thick. To finish, I used the cable bind off technique so that the edges would match. The bind off turned out really well. My bind off edges always end up looking better than my cast on edges. I think it’s because I pull the stitches too tight when casting on. Once I was done with knitting, I realized the headband was too big around so I folded it and put a button on it!
2. The Accent Piece
 Needles: 2.75 mm straight
Edges: Stockinette with slip stitch edge
Pattern: K2tog, yo
Other supplies: Button, iron, pins
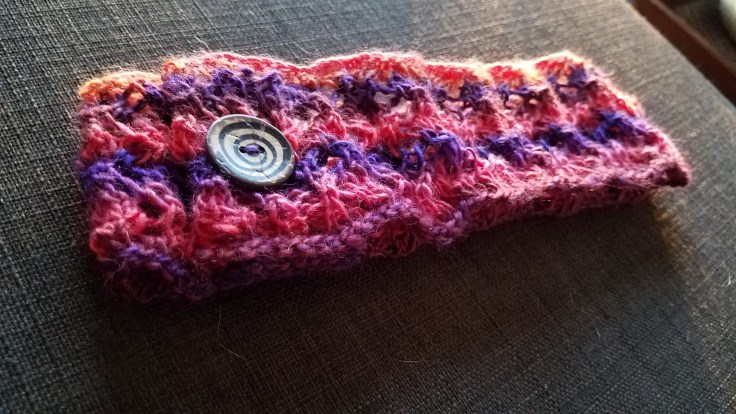
This one was a bit of a challenge, but it turned out well in the end. I started with 7 stitches at the tip with the button. From there I worked a stockinette stitch increasing by one stitch every other row. Each boarder is four stitches wide and the center follows the pattern: knit two together (k2tog), add a stitch (yo). The button hole on the end was improvised. I knitted around the corner by knitting half of the row, turning the work, knitting back, turning the work again, then knitting the full row. This makes the work curl to one side. After repeating that process a few times, sewed the work back to the main part of the headband to finish the button hole.
The challenge came from getting the piece to lay flat. Stockinette stitch tends to curl quite a bit and my headband was no exception. Blocking to the rescue! Blocking can be used to change the shape of pieces if they are made with yarn containing natural fibers. Since the yarn I used is merino wool, blocking should work well.


There are several different methods for blocking. I picked steam blocking because it quick and uses tools I usually have around the house. The basic concept is to pin the piece into the correct shape then use the steam button on an iron about an inch away. Since I didn’t have a cork board or pushpins around, I used safety pins and a towel to hold the headband down while I steamed it. As you can see from the first picture, the blocking worked well!
3. The Practical One
 Needles: 3.5 mm straight
Edges: Garter stitch with slip stitch edge
Pattern: Same one as the first headband
Other supplies: Iron and pins
 For the final headband I wanted to do something a bit more simple but that matched the style of the first one. I started with 19 stitches: 4 for each edge and 11 for the pattern in the middle. I used garter stitch to give the edges a ribbed look. I alternated between the Pinterest pattern and garter stitch for the middle of the headband. Once the headband was long enough I stitched the ends of the piece together. I then blocked the work using the same method as the second headband to make the pattern stand out better.
I ended up with three fun headbands just in time for the holidays 🙂


Beautiful ! You are so talented Becky!
LikeLike