One of my big goals for my NZ trip was to create something from shearing to knitted project. I’ve just finished making a scarf from an alpaca that I helped shear, which ticks that off my list. As they say pics or it didn’t happen so here’s some pictures!
First step, I needed to get some fiber, so I volunteered to help several alpaca owners during their shearing days and got some fiber in return. The stuff that I’ve started working with is a cria (baby) fleece. It came off of a beautiful fawn cria.


That’s the cria right after shearing and his mom trying to decide if she recognizes this newly sheared creature. Fun fact: when the cria is still nursing, the shearer will leave the tail long so that the mama can recognize her baby!
The next step is to process the fleece. First, I skirted the fleece, meaning I picked out all the bits I didn’t want. This includes getting rid of any hairy or coarse bits and sorting some of the higher quality fleece out. Higher quality is subjective, but usually means the parts of the fleece that are longer and finer than the other parts.
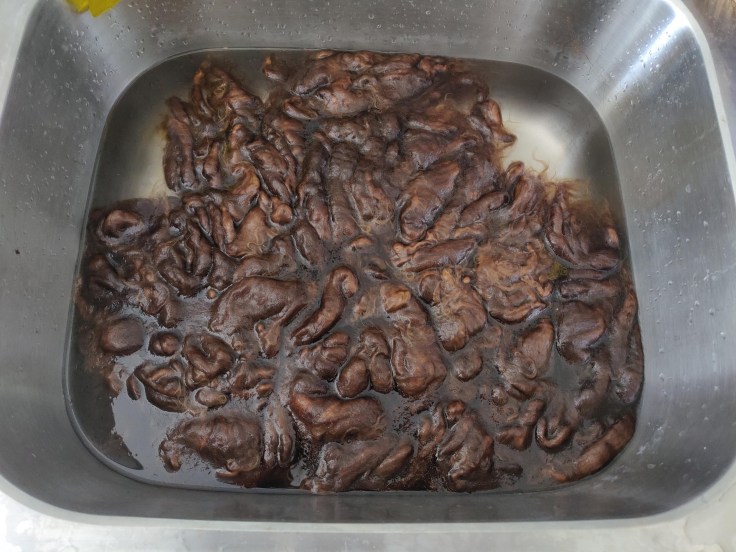
After skirting, it’s time to wash the fleece! I filled a sink with enough hot water to allow the fleece to float freely, then put some dish soap in and stirred it around trying to avoid making any bubbles. Next the fleece went in and is pushed down until it is soaked through. I repeated this process with slightly colder water each time until the water running from the fleece was clear. I was amazed at how well the fleece holds together through this treatment. I would have thought that it would spread apart in the water, but it really doesn’t.
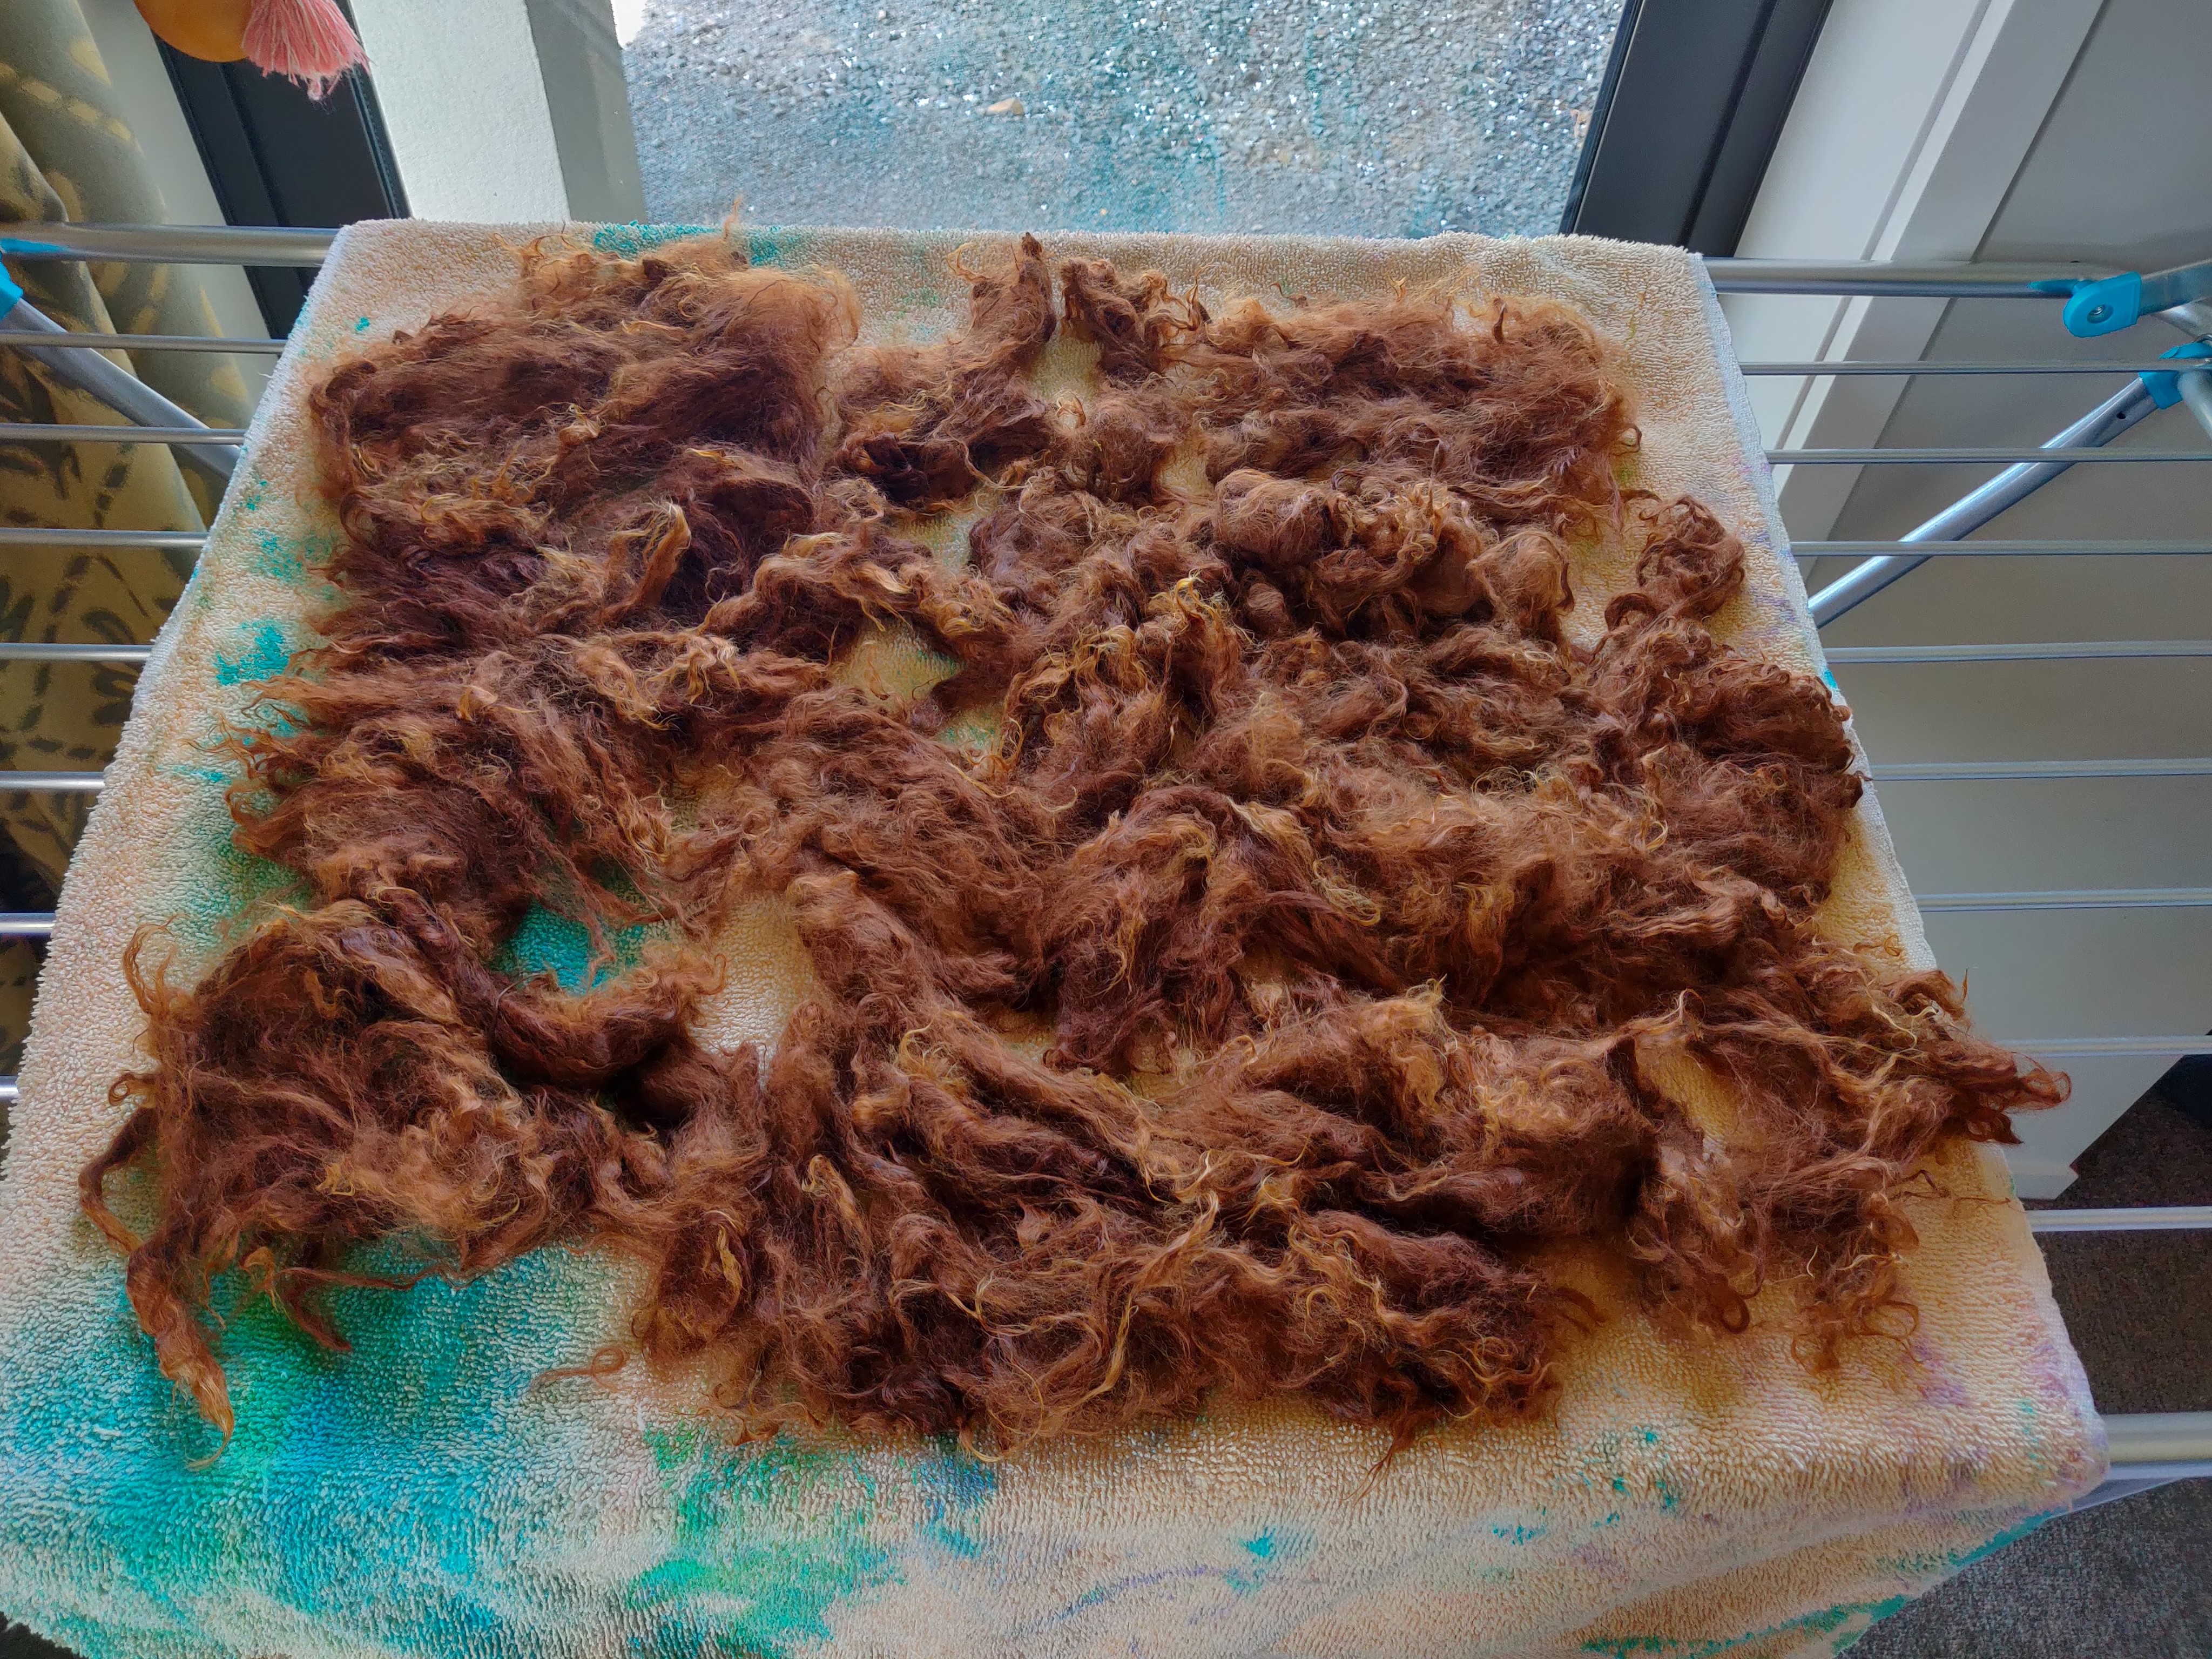
I spread out the fleece and waited for it to dry.
After the fleece dried, it needed to be combed or carded to make it easier to spin. I choose to comb the fleece because it makes for a smoother finish.


I put the individual locks on the comb first making sure they were facing the same direction. I also applied a little bit of watered down conditioner because the next part gets rather static-y, especially with alpaca fiber. I then used the empty comb, at a 90 degree angle from the first comb, to pull the fiber from one comb to the other. I repeated this process, switching directions when the pulling comb was full, until the fiber was smooth like in the second picture. I then pulled the fiber off the comb through a diz, the metal shape in the third picture, to get it into a uniform roving that I could use to spin.
Even though the fleece is a very pretty color on its own, I decided that I wanted to combine it with something else. I bought a corriedale (breed of sheep)/silk blend that had been dyed with warm reds and oranges, which I started spinning while I was processing the fleece.


After I finished spinning all of the corriedale and the alpaca I plied the two together. To ply the yarn, I put the two single ply bobbins together and spun them in the opposite way that the singles were spun. The effect is a cool barber pole yarn!


Once all the yarn was plied together, I gathered it off onto a niddy noddy to create a skein, then set the twist. To set the twist, I put the skein first in hot water then in cold water. This does a couple things: first it shocks the fibers and makes them more likely to hold their current shape rather than untwisting. Second, it will cause some fibers to shrink. This is especially important when you are mixing fibers. Corriedale, for example, usually shrinks more than alpaca, so shrinking the fibers before you actually knit something helps to keep the final item for pulling out of shape when it’s washed.


You can see that the water is tinged pink when I’ve put the skein in the hot water. This will sometimes happen with vibrant colors. It’s good to make sure to get washing and handling information from the dyer and probably avoid washing knitted items with other light colors until you are certain the dye will no longer run.
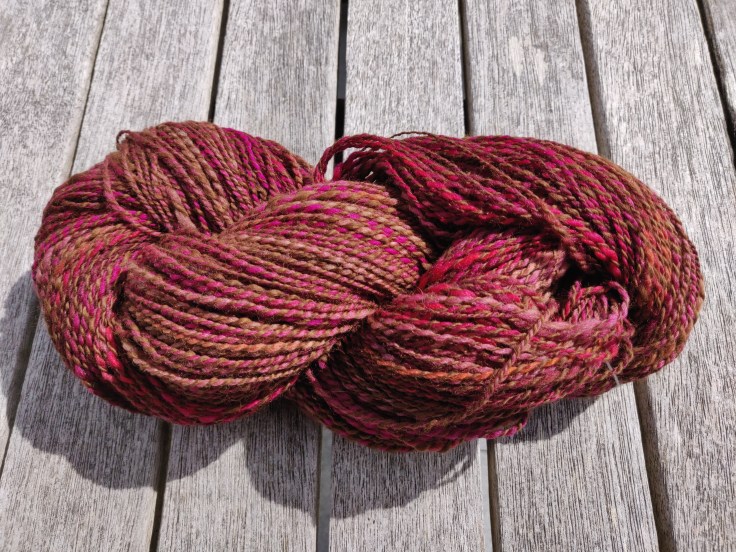
After the skein dried, I twisted it up. I was really happy with how it all turned out!
On to the knitting! I found a nice triangle scarf pattern called Wheatsheaves Scarf from Ravelry. I won’t go into too much detail about the knitting except to show you the finishing steps.


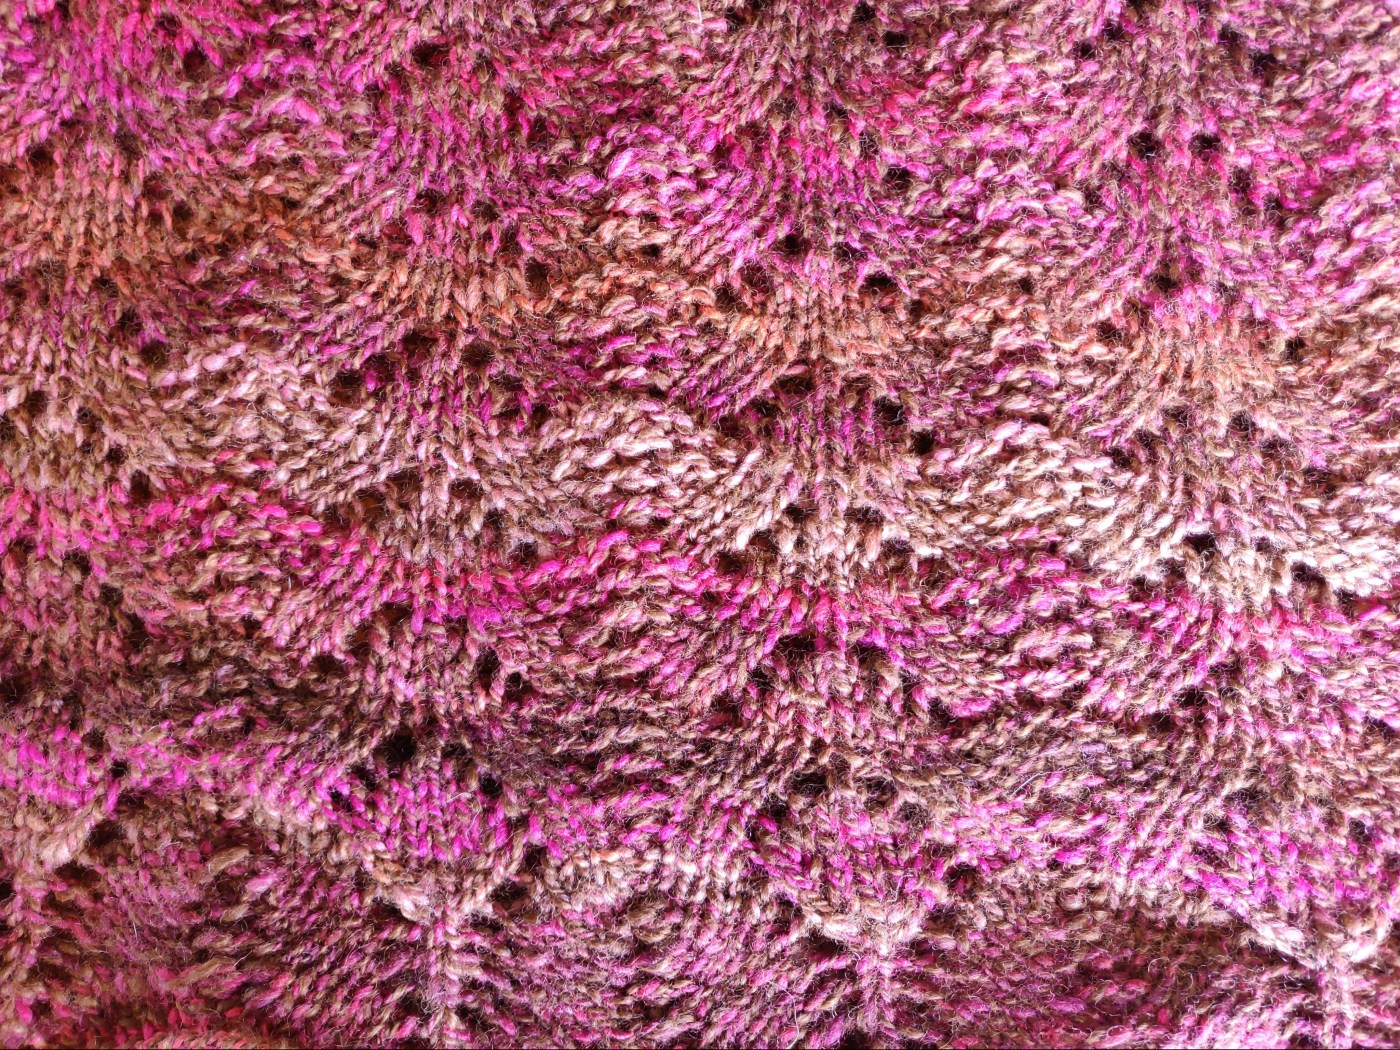
The left picture is the scarf before blocking and the right is the scarf during blocking. It’s amazing how much easier it is to see the color and pattern once the piece is blocked.


The final piece looks great once it’s done blocking!

Way to go Becky! I am impressed! That is quite an accomplishment! Such a talented granddaughter! 🙂
LikeLike
Thanks Grandma 😊
LikeLike
What a beautiful project! You are living the dream, Becky. We are so happy for you. Do you have some tips or links for improving my beginner spinning skills?
LikeLike
Thanks Melanie :). I don’t have any particular links that come to mind, but as for tips the two most important things I’ve found to focus on are tension and prep. For the tension, you want it to be as light as possible while still pulling… If it’s pulling too much, you’ll find it harder to control the thickness, of it’s not pulling enough you’ll end up with the yarn twisting back on itself. For the prep, I’m referring to how the fiber is prepared before spinning. It should be smooth and pull apart easily. If you’re prepping your own fiber, this means spending a bit more time combing or carding. If you’re buying roving, this means if the fibers are packed too tight to draft smoothly, you should pull them apart, in the horizonal direction, to loosen everything up. Hope this helps!
LikeLike
Becky you are amazing! The scarf is beautiful. You are so talented! Thank you for sharing and best wishes for your upcoming adventures!
LikeLike
Thanks Nancy 🙂
LikeLike